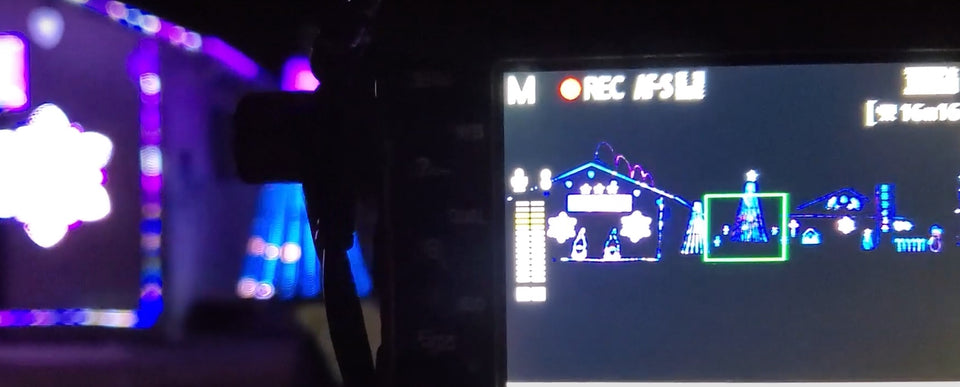
Here are some great tips and tricks on videoing your Xlights, LOR, or other Holiday Light show!
Do you just take your phone out of your pocket and take some video?
How do some of the other shows youv'e seen get such good results?
Do you want to skip all of this text? Scroll to the bottom for a quick video. Has less information but touches on some awesome tips/tricks for difficult show scenarios.
There is a lot of information on how to get video of your show. I'm not going to reinvent the wheel here. However, some of these tips and tricks might be different than what you've heard - and I have a perspective of someone who previously had a photography company which had winning photos of night shots.
These tips and trips are for full length videos. If you want to go live on Facebook or Instagram - yes, get your phone out, do your best to make some setting adjustments, and go live! Move around, get close, make it interestiong. Again, these tips are for taking full songs or full show videos. So here goes.
#1 - Pick a time when your viewership is lowest. The people who show up always take priority - that's why your show is there!
#2 - Use a tripod. This might seem obvious - but it's an important one. Cameras require light for the sensors to take a picture or video. The darker the image/video is - the camera has to 'slow down' and take more time to gather enough light to have each image or video still show up. We generally take video at night when there isn't much light so it's really easy to start getting blurry videos if you're holding it in your hand
#3 - Get your camera settings accurate. Before you start to video - find a place in the sequence, or even run a test sequence, where all or almost all of your lights are on. The dark is easy to catch - there's nothing there. If you set your cameras settings (and keep those settings there) when the lights are their brightest, then you are able to manipulate how the show will look in the video.
#4 - Use a microphone! In the example video below I used a wireless Lavalier/Lapel microphone that was setup in my car next to the speaker. I probably could have taken it the next step and plugged the transmitter directly into my show's rPI out, probably skipping all post audio work. Either way - this tip is to use a microphone. Set it indoors or in a car that has good reception, near the speakers. This will give you an excellent starting point with little to no background noise - so that in post, hearing those audio cues are very easy. This is all done without blasting high volumes out to your neighbors. If you're curious about a wireless microphone that worked well and comes with adapters for DSLR and Phones. Check this one out: Wireless Lavalier Microphone kit
#5 - Protect yourself from cars. You may not realize this, but your big, flashy, sequenced light show is a bit of a distraction to drivers. It's their responsibility to drive safe - and we aren't worried about the bulk of the drivers. If you can't fit your full show into your camera from your yard or sidewalk and end up in the street - use your own car as a blockade. Our personal show is very wide and even with a very wide 11mm focal length - I need the camera in the street (in the off street parking area) to get the whole thing. Simply park the car where people would have to drive around (safely) - keeping good distance from you and your equipment.
#6 - Post production. There is a lot of information available on post production but I'm going to talk about the Windows users and the free option. (We've spent enough on lights, at least something can be free). Go to 'Start' and type 'Video Editor'. This rather simple video edtiror will allow you to cut new start/end times and add in custom audio (which will likely be your original MP3's). Once the new MP3 is overlaid where it should, you can then simply turn the audio of the original file down to zero. Boom - done.
Here is a quick video - showcasing how I video'd our show on a busy street, with the camera on the road, under a street light, with a ton of background noise.
Here is a resulting video... notice the difference between my phone (shot in the tips video above) and the camera properly set?!


